How to Teach Short Vowels and Why They Are Important
Short vowels are one of the first phonics skills students need when they begin reading words.
But even though CVC words may look simple, they are not always simple for beginning readers.
When a student reads a word like wax, web, dim, lock, or dug, they have to recognize the letters, connect each letter to a sound, hold those sounds in memory, blend the sounds together, and then understand the word they read. That is a lot for a beginning reader.
This is why short vowels need to be taught explicitly, practiced often, and connected to real reading as quickly as possible.
In this post, we’ll walk through how to teach short vowels in CVC words using a clear, simple routine you can use during small group instruction, intervention, or whole group phonics lessons.
What Are Short Vowels?
The vowels are a, e, i, o, and u.
Each vowel can represent different sounds, but when we talk about short vowels in CVC words, we usually mean the vowel sounds students hear in words like:
- short a as in wax
- short e as in web
- short i as in dim
- short o as in lock
- short u as in dug
A CVC word follows a consonant-vowel-consonant pattern.
For example:
- wax
- web
- dim
- lock
- dug
These words are often some of the first words students learn to decode because the pattern is simple and the vowel sound is short.
But simple does not mean automatic.
Students need many opportunities to hear, say, blend, read, spell, and apply short vowel sounds in connected text.
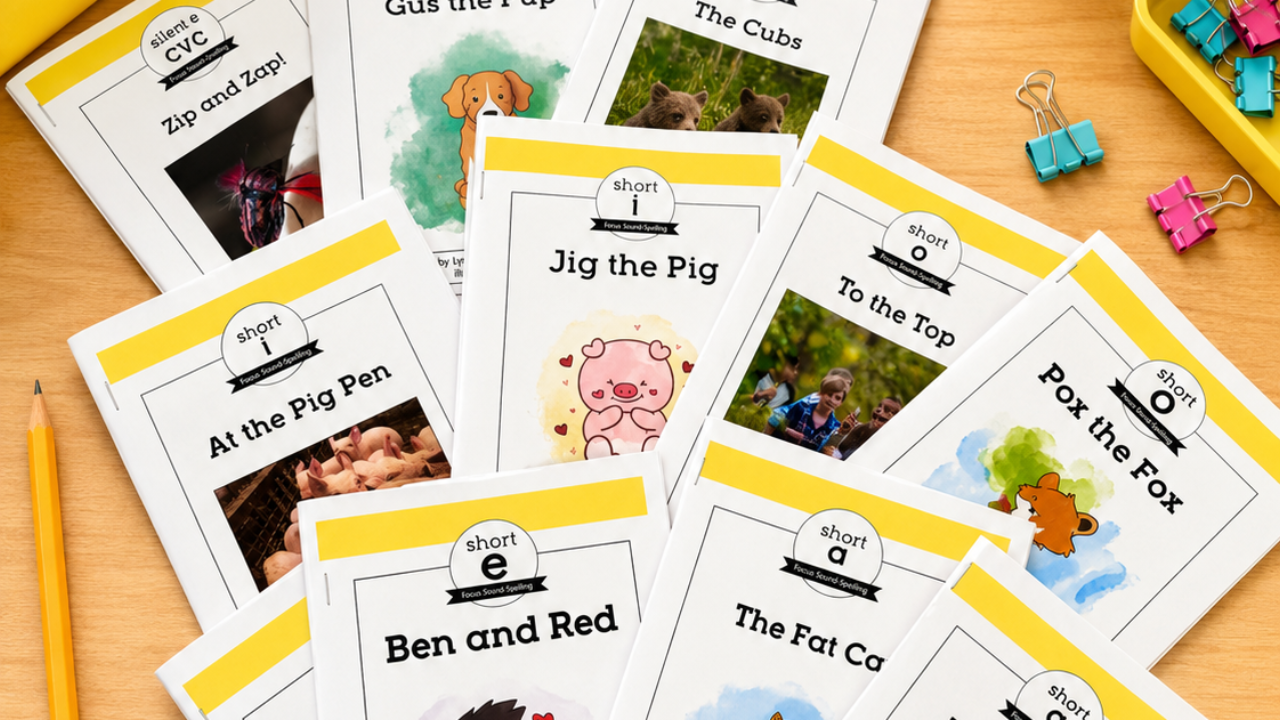
Here are your downloadable resources for teaching with decodable passages:
- Short A Passages - Free Download (PDF)
- Short E Passages - Free Download (PDF)
- Other CVC Passages - Member Only (PDF)
- Beginning and Ending Blends - Member Only (PDF)
- Digraphs - Member Only (PDF)
- Long Vowels - Member Only (PDF)
- Vowel Teams - Member Only (PDF)
- R-Controlled Vowels - Member Only (PDF)
- Diphthongs - Member Only (PDF)
Why Short Vowels Can Be Tricky
Short vowel sounds can be tricky because they are quick and subtle.
Some students may confuse:
- short e and short i
- short a and short e
- short o and short u
For example, a student may hear web and think the middle sound is /ĭ/. Or they may read dim as dem because the vowel sound is not secure yet.
That does not mean the student is being careless.
It usually means the student needs more explicit instruction, more opportunities to hear the sound, and more practice connecting the sound to the correct vowel letter.
Short vowels stick best when students practice in multiple ways:
- hearing the vowel sound
- saying the vowel sound
- noticing what their mouth is doing
- connecting the sound to the vowel letter
- blending CVC words
- spelling CVC words
- reading CVC words in decodable text
A Simple Routine for Teaching Short Vowels in CVC Words
When teaching short vowels, it helps to follow a predictable routine.
Here is a simple flow:
- Introduce the focus sound.
- Connect the sound to the mouth.
- Practice the vowel with multisensory writing.
- Blend CVC words.
- Read a decodable text.
- Dictate words or sentences.
- Retell, discuss, and review.
- Use follow-up activities for more practice.
This routine keeps the lesson focused, but it also gives students repeated chances to use the short vowel sound in meaningful ways.
Step 1: Introduce the Focus Sound
Start by clearly introducing the vowel and sound.
For example:
“Today we are going to practice the short e sound. This is e. Our keyword is egg. The sound is /ĕ/.”
Then have students repeat:
“e, egg, /ĕ/.”
You can use a simple routine for all five vowels:
- A, apple, /ă/
- E, egg, /ĕ/
- I, into, /ĭ/
- O, octopus, /ŏ/
- U, up, /ŭ/
Using the same routine each time helps students know exactly what to expect.
You can also add a motion to help students remember the sound.
- A, apple, /ă/: pretend to hold and bite an apple
- E, egg, /ĕ/: pretend to crack an egg in your hand
- I, into, /ĭ/: point your finger like you are pointing into a hole or through a door
- O, octopus, /ŏ/: wiggle your arms like tentacles
- U, up, /ŭ/: point up
The motion should be quick, clear, and consistent.
The goal is not to make the lesson complicated. The goal is to give students an anchor they can use when they forget the sound.
Step 2: Connect the Sound to the Mouth
After you introduce the sound, draw attention to what students’ mouths are doing.
This is especially helpful with short vowels because the sounds can be very close.
You might say:
“Watch my mouth as I say /ĕ/. Now you say /ĕ/. What do you notice?”
Students can use handheld mirrors to look closely at their own mouths as they say each sound.
Ask questions like:
- Is your mouth open wide or just a little?
- Did your jaw drop?
- Are your lips rounded?
- Is your mouth pulled back a little?
- Where is your tongue?
This can be especially helpful when students confuse short e and short i.
For example:
Say /ĭ/ as in into.
Then say /ĕ/ as in egg.
Have students notice the difference.
You might say:
“When we say /ĭ/, our mouth pulls back a little. When we say /ĕ/, our jaw drops more.”
This helps students connect what they hear with what they feel.
Step 3: Add Multisensory Practice
Once students know the focus sound, have them practice the vowel in a multisensory way.
For example, students can finger write the vowel:
- on the table
- in the air
- on their palm
- on a whiteboard
As they write, have them say the sound.
For example:
Students finger write e and say:
“/ĕ/”
Then they can write the letter again and say:
“e, egg, /ĕ/.”
This gives students another chance to connect the letter, keyword, sound, and movement.
It is simple, but powerful.
Step 4: Blend CVC Words with the Focus Vowel
Now students are ready to blend CVC words with the focus vowel.
Start with words that only include sounds and spellings students have already learned.
For short e, you might use:
- web
- yes
- mess
For short i, you might use:
- dim
- rib
- lid
For short o, you might use:
- lock
- sock
- rob
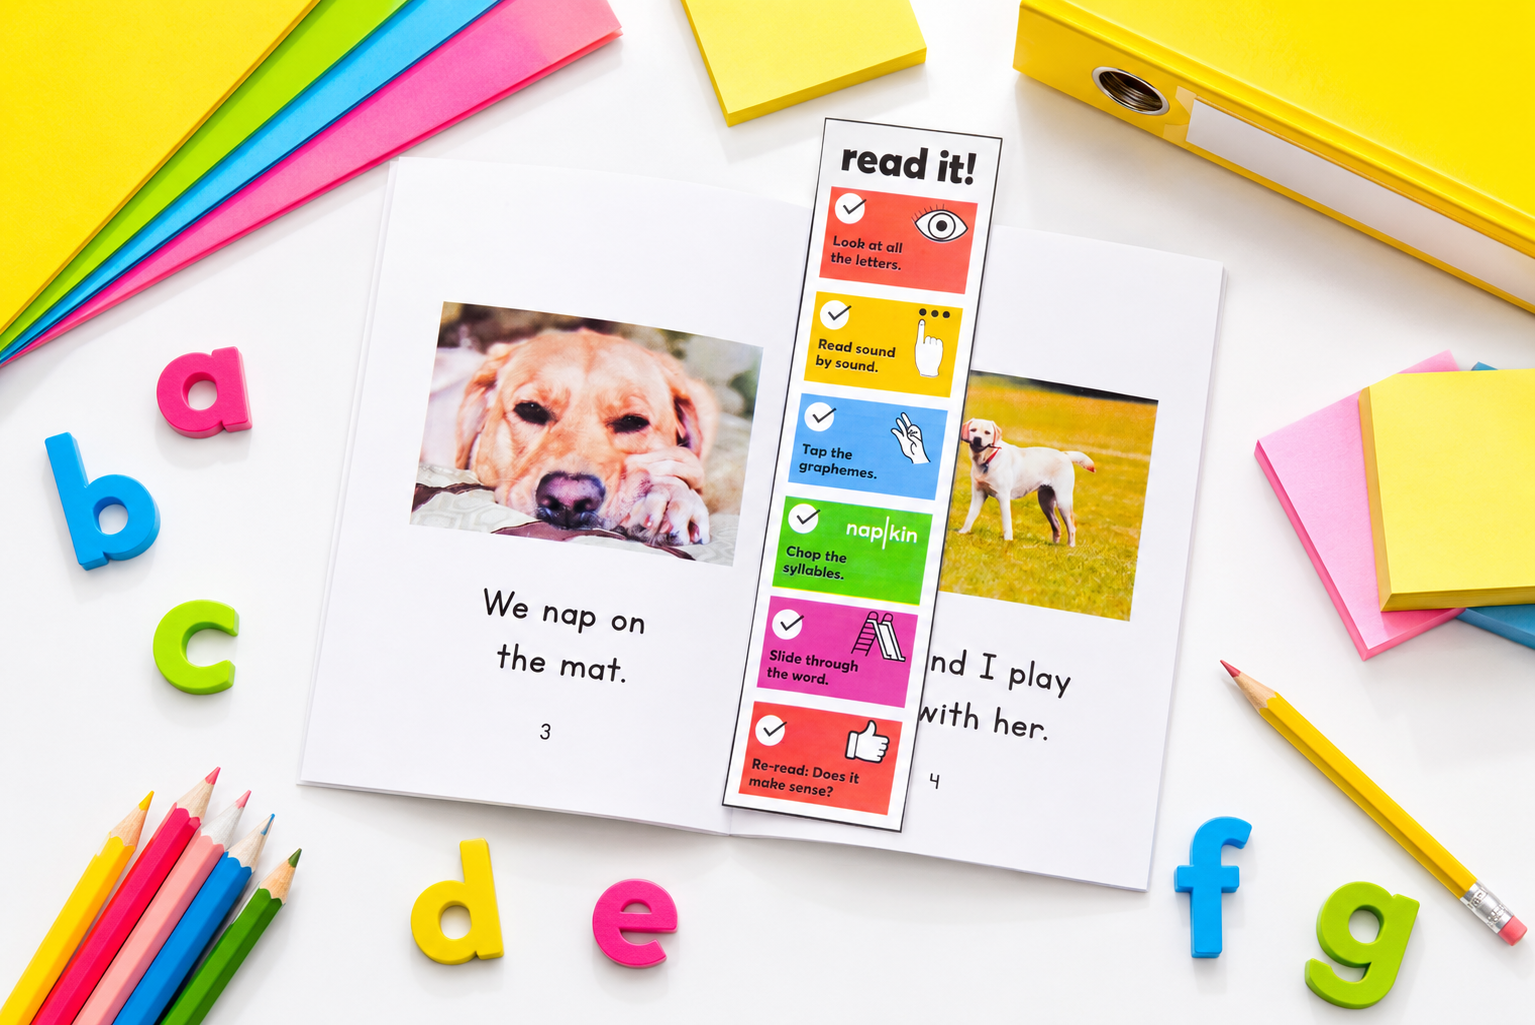
A blending routine might sound like this:
“Touch each letter and say the sound.”
/w/ /ĕ/ /b/
“Now blend the sounds.”
wwwĕĕĕb, web
“What word?”
web
Keep the routine consistent.
Students can tap under each letter, slide their finger under the word, and then read the whole word.
If a student gets stuck, prompt them with questions like:
- What sound does that vowel make?
- Can you say each sound?
- Can you blend it again?
- Does that word make sense?
The goal is to help students use a decoding strategy, not guess.
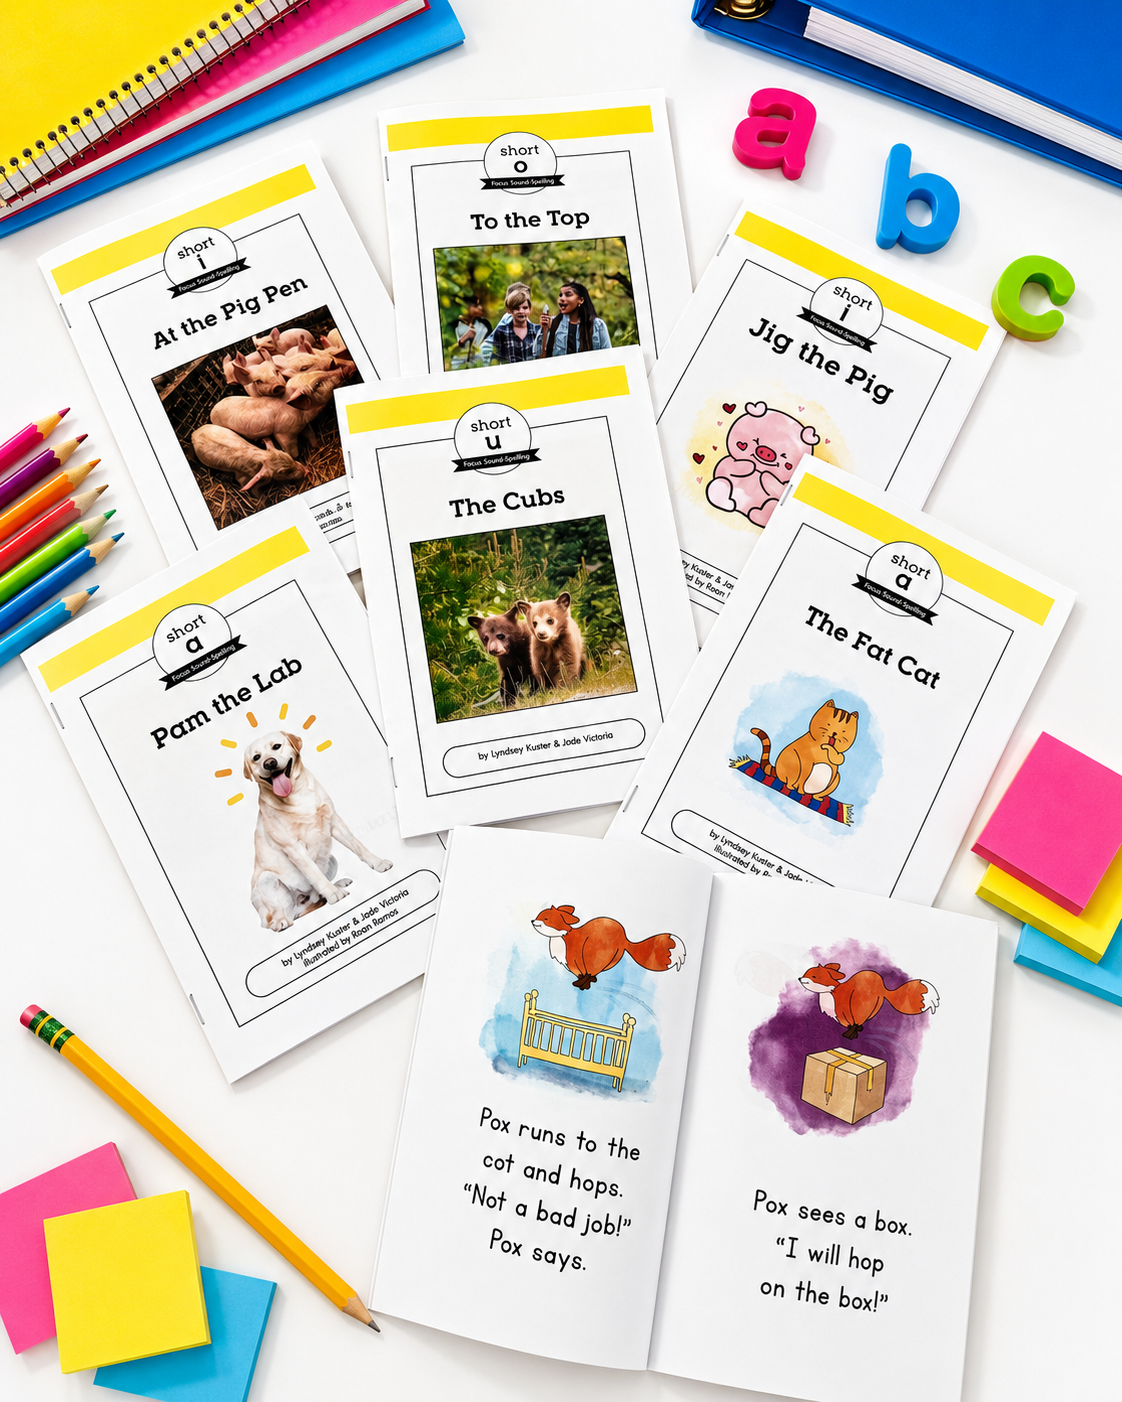
Step 5: Preview the Decodable Text
Before students read a decodable text, give them a quick preview.
You do not need to overdo this part.
The goal is to set them up for success.
You might:
- show the cover
- read the title
- briefly introduce the story
- point out the focus vowel sound
- review a few high-frequency words
- preview one or two decodable words from the text
For example:
“Today we are reading a story with lots of short e words. As we read, we are going to look for words with /ĕ/.”
Then isolate one word from the text.
For example:
“Let’s look at this word: web. Tap the sounds with me: /w/ /ĕ/ /b/. Web.”
This helps students connect the phonics lesson to the book they are about to read.
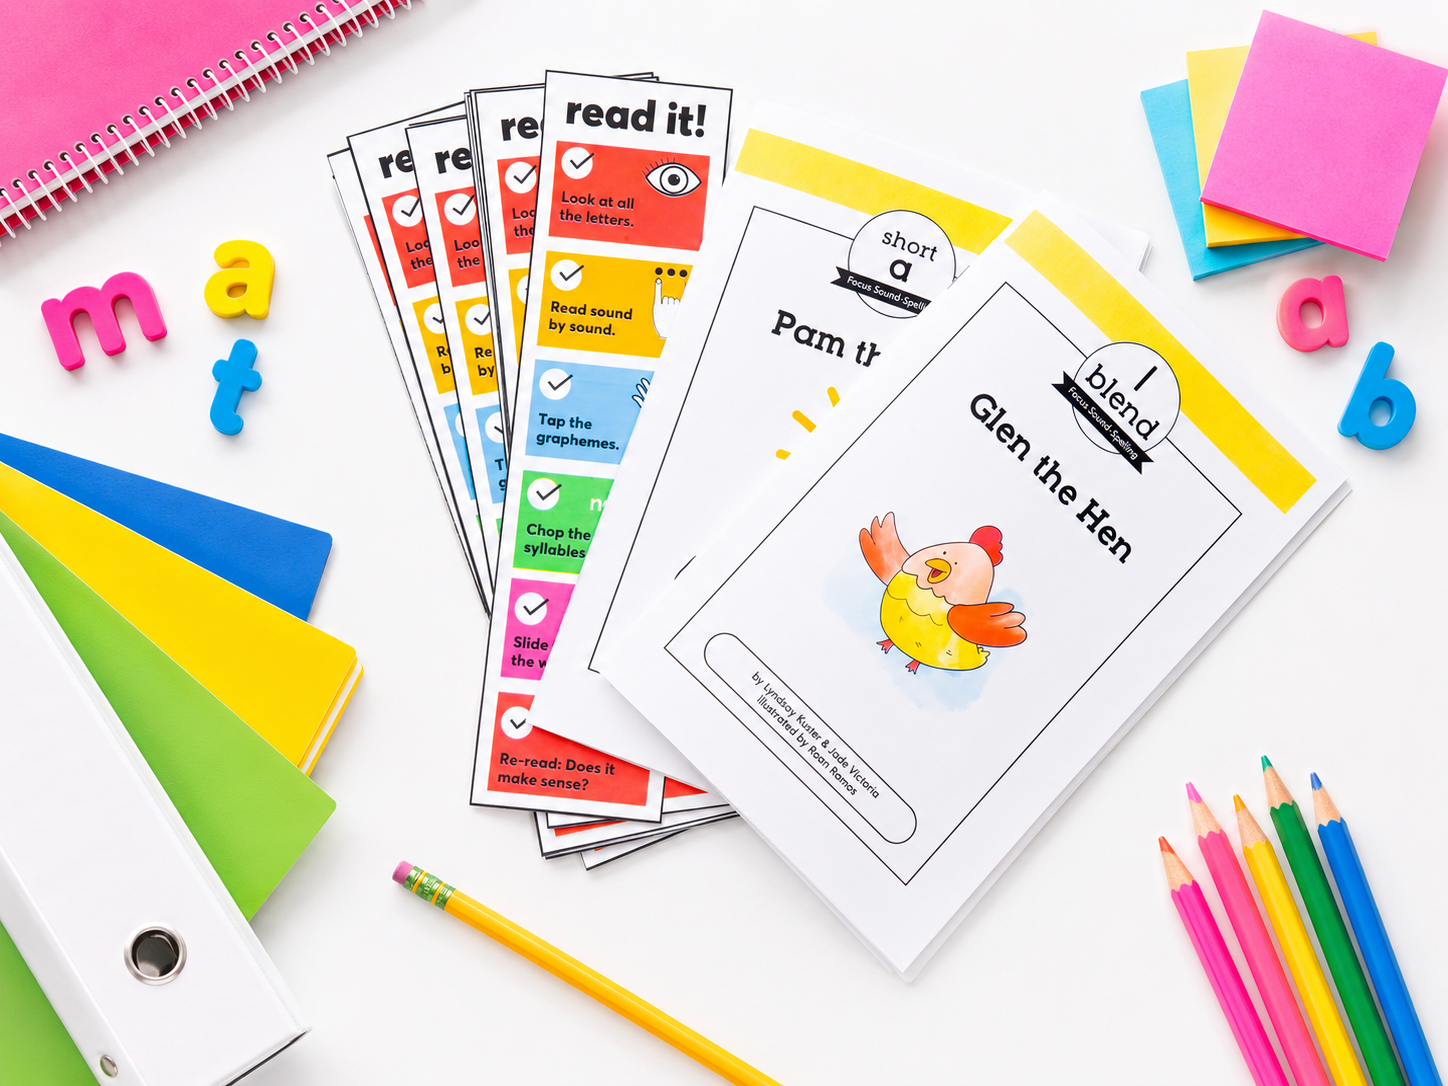
This is one of the things I love about using Road to Decode readers and lesson plans. The lesson gives students a clear focus before they read, so the decodable text is not random. It directly connects to the sound-spelling pattern students are practicing.
Step 6: Read the Decodable Text
Now students are ready to read.
Depending on your group, you might use:
- choral reading
- echo reading
- whisper reading
- partner reading
- independent reading
As students read, listen in and prompt as needed.
Helpful prompts include:
- What sound does that vowel make?
- Can you tap the sounds?
- Can you blend it again?
- Does that make sense?
- Can you reread that sentence?
If students make an error, guide them back to the word.
For example:
“I heard you say wig, but this word has an e in the middle. What sound does e make? Let’s tap it.”
Then students tap and blend:
/w/ /ĕ/ /b/, web
This keeps the correction tied to the phonics skill.
It also helps students build the habit of cross-checking. They learn to ask:
“Does the word I read match the letters on the page?”
and
“Does it make sense in the sentence?”
Step 7: Add Dictation After Reading
After students read the decodable text, add a quick dictation practice.
This helps connect reading and spelling.
You might dictate a few CVC words with the focus vowel.
For example, for short e:
- web
- yes
- mess
Students can:
- Repeat the word.
- Tap the sounds.
- Write the letters.
- Read the word back.
You can also dictate a simple sentence if students are ready.
For example:
The web is wet.
Students write the sentence on whiteboards or paper.
Then have students circle or underline the short vowel words.
This connects the sound-spelling pattern to both reading and writing.
Step 8: Retell, Discuss, and Build Meaning
Decodable readers are not only for decoding.
After reading, students should still talk about the story.
You can ask simple comprehension questions:
- Who was the story about?
- What happened first?
- What happened next?
- What happened at the end?
- What was your favorite part?
- What short vowel words did you notice?
Students can retell the story with a partner or orally share what happened.
This matters because we want students to understand that decoding is part of reading, but meaning matters too.
They are not just reading words.
They are reading a text that should make sense.
Step 9: Use Follow-Up Activities for More Practice
After the lesson, students need more practice with the same skill.
This is where follow-up activities are helpful.
Students can:
- reread the decodable text
- highlight short vowel words in the text
- complete a word hunt
- build CVC words with letter tiles
- sort words by vowel sound
- play a short vowel game
- complete a simple read-and-write activity
- answer comprehension questions about the text
For example, after reading a short e decodable, students might go back into the text and circle all the words with short e.
Then they might write three short e words on a whiteboard and read them to a partner.
This gives students another chance to notice, read, and use the target skill.
Road to Decode includes follow-up activities that are designed to extend the lesson without adding a lot of extra prep. Students can reread, write, sort, build, and practice the same phonics focus in different ways.
That repeated practice is what helps short vowels stick.
Short Vowel CVC Words for Practice
Here are some CVC words you can use for short vowel practice.
Short a CVC Words
- wax
- yak
- tax
- rag
- van
- dam
- gas
- jab
- pal
- wag
Short e CVC Words
- web
- yes
- hem
- fed
- get
- red
- beg
- keg
- den
- pep
Short i CVC Words
- dim
- rib
- lid
- win
- fin
- nib
- jig
- kit
- him
- sip
Short o CVC Words
- lock
- sock
- rob
- cod
- bog
- hop
- mop
- sob
- tot
- pod
Short u CVC Words
- dug
- bus
- rug
- cub
- hum
- gum
- bun
- sub
- jug
- pup
When choosing words, make sure the words only include phonics skills students have already learned.
For example, if students are still working on basic CVC words, you may want to avoid words with blends, digraphs, or more complex spelling patterns until those skills have been taught.
The goal is to give students words they can decode successfully with the skills they know.
A Sample Short Vowel Lesson Flow
Here is what a short vowel lesson might look like from start to finish.
Focus Skill
Short e
1. Introduce the sound
“This is e. Our keyword is egg. The sound is /ĕ/.”
Students repeat:
“e, egg, /ĕ/.”
Students pretend to crack an egg in their hand.
2. Notice the mouth
Students say /ĕ/ and notice what their mouth is doing.
Use mirrors if helpful.
3. Finger write
Students finger write e on the table, in the air, and on their palm while saying /ĕ/.
4. Blend words
Students read:
web
yes
hem
fed
get
5. Preview the text
Show the decodable reader.
Read the title.
Briefly introduce the story.
Preview one short e word from the text.
6. Read the text
Students choral read, echo read, whisper read, or read independently while you monitor and prompt.
7. Dictation
Dictate a few words or a simple sentence.
Example:
The web is red.
Students write it, reread it, and circle the short e words.
8. Retell and discuss
Students retell the story and answer a simple comprehension question.
9. Follow-up practice
Students reread the text, complete a word hunt, or play a short vowel word game.
This routine gives students a complete path from sound to print to connected reading.
Final Thoughts
Short vowels are one of the most important early phonics skills students learn.
But students do not master short vowels by hearing the sound once or reading a few CVC words in isolation.
They need clear instruction, repeated practice, and decodable text that gives them a reason to apply the skill.
A strong short vowel lesson should help students:
- hear the sound
- say the sound
- connect the sound to the vowel letter
- blend CVC words
- spell CVC words
- read CVC words in connected text
- review the skill through meaningful practice
When short vowel instruction follows a clear routine, students begin to understand how words work.
And when students get enough practice with decodable readers, lesson plans, posters, and follow-up activities, they can start to use those short vowel sounds with confidence.
That is exactly what Road to Decode was designed to support.
Inside Road to Decode, students practice targeted phonics skills through explicit lesson plans, engaging decodable readers, visual supports, and follow-up activities, so you can move from teaching the skill to helping students actually apply it in reading.
Because the goal is not just for students to know short vowel sounds.
The goal is for students to use them when they read.